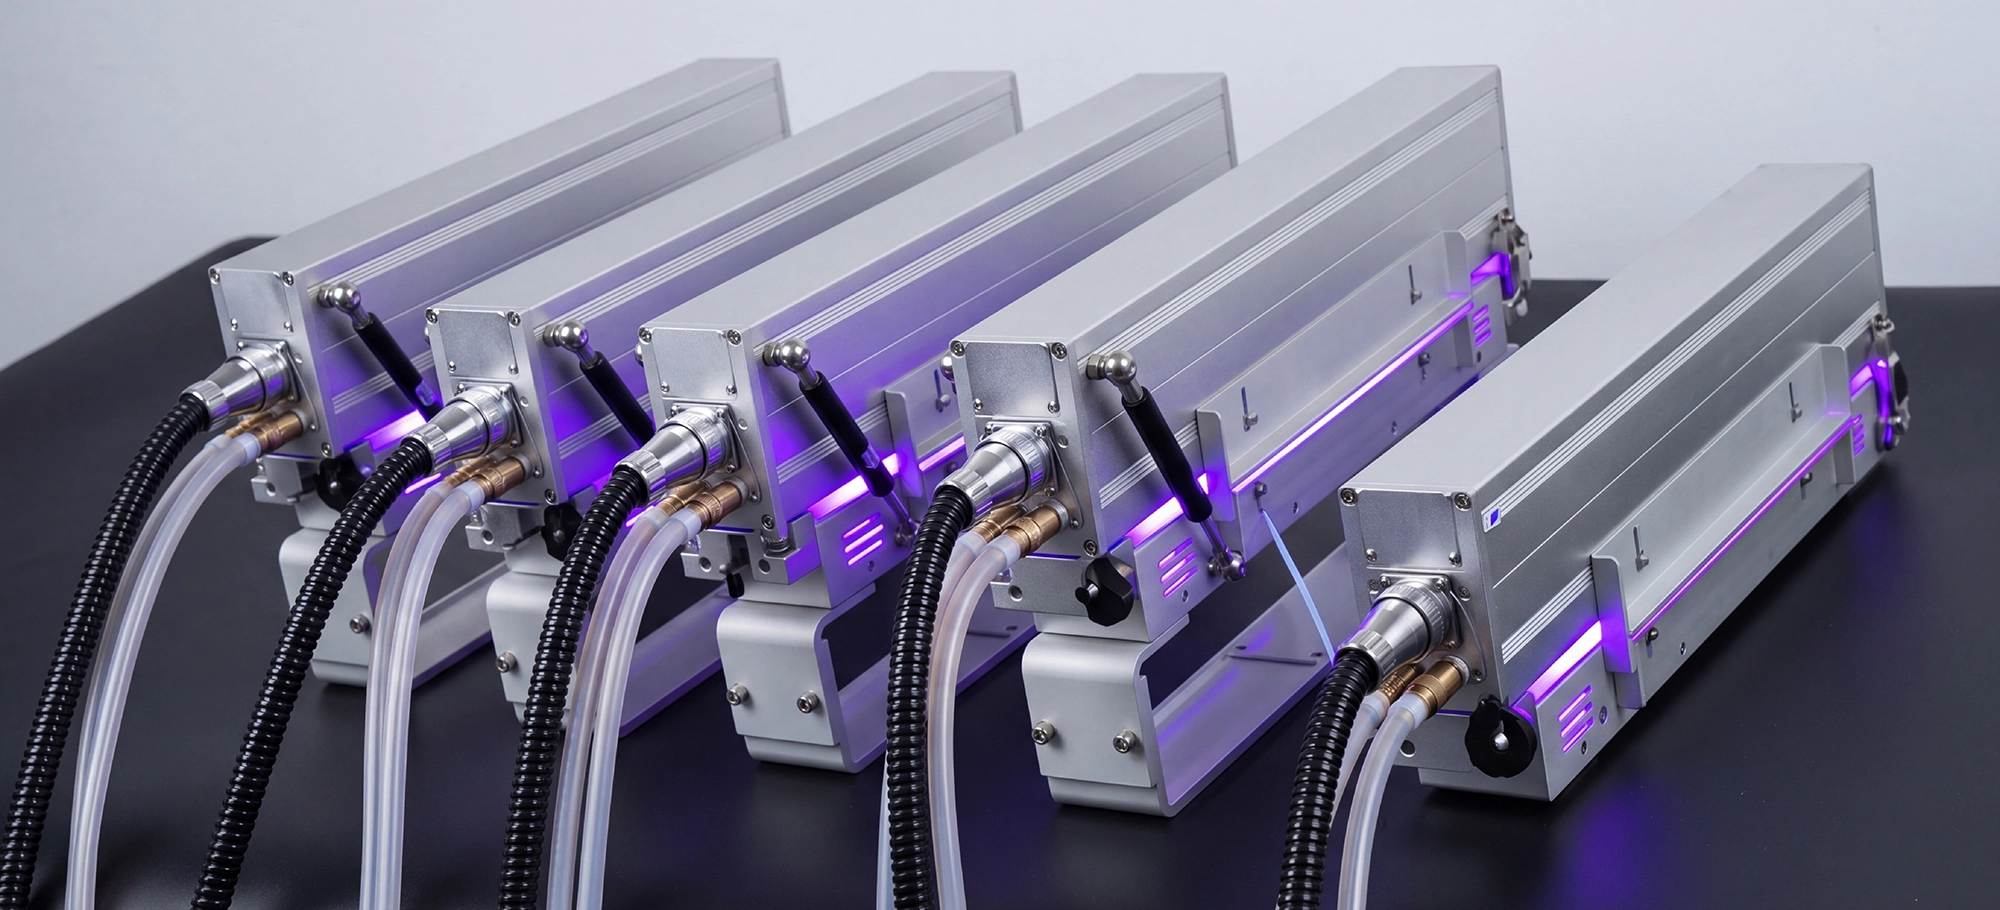
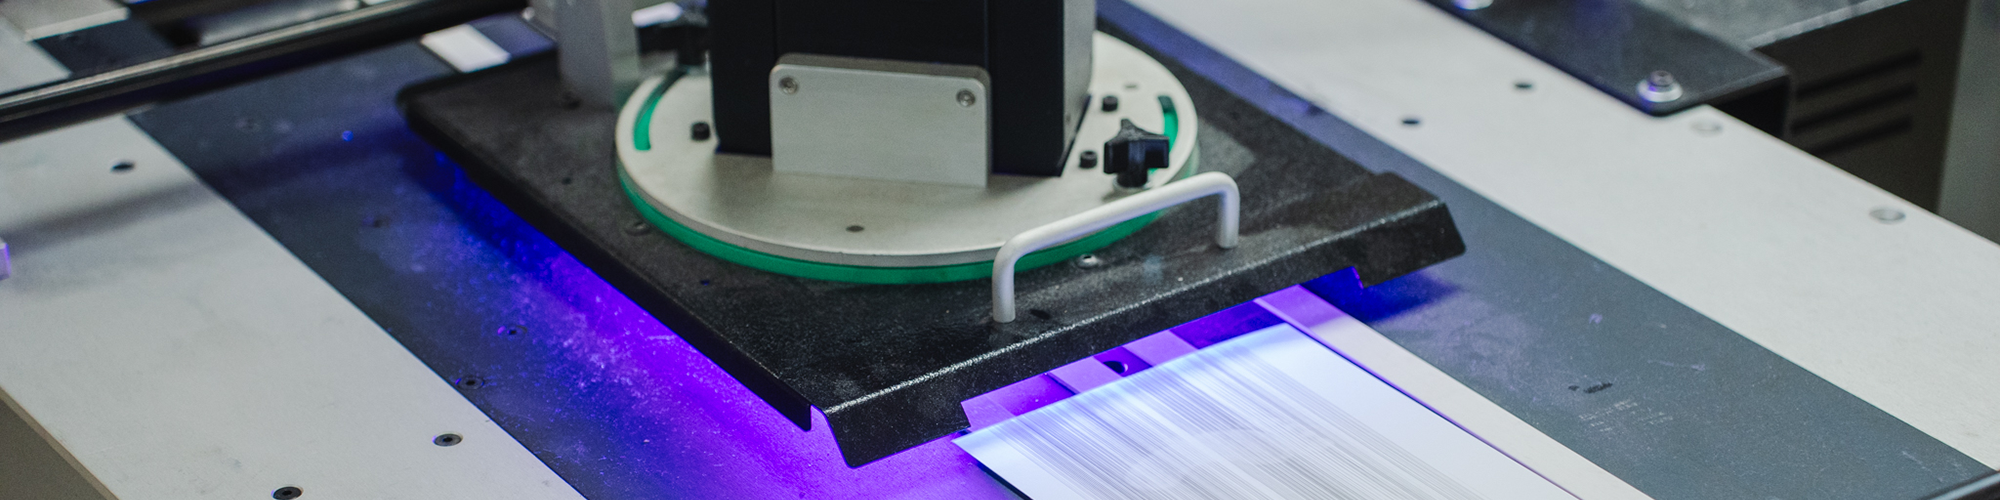
Learning to troubleshoot in the pressroom is a valuable skill that helps you maintain quality standards, stay on schedule and identify potential maintenance issues before too much damage is done. Our technical team has put together potential solutions to the twelve most common problems you may encounter when UV Flexo printing. We hope this quick-fix guide serves as useful reference material when you need it most.
The golden rule of troubleshooting
Are you familiar with the story of Occam’s Razor? It’s a problem-solving principle that states that the simplest solution is almost always the best and a great axiom to remember when looking to solve issues on press. When you encounter print failures, don’t panic. It’s often as simple as needing to add UV reducer, prime the substrate or change to a different white.
If a simple solution to your problem exists, always try that first!
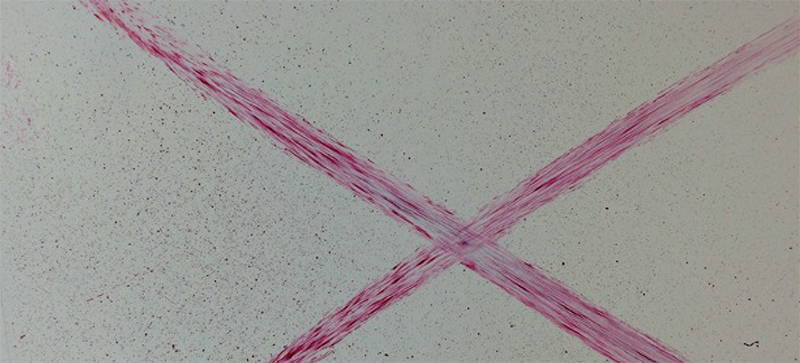
1. FEATHERING – Small hairs that look like worms are appearing in solid print areas
Problems associated with insufficient ink in solid print areas is typically going to be an issue with ink viscosity being too low. By adjusting viscosity higher, ink will be able to better wet out over the substrate.
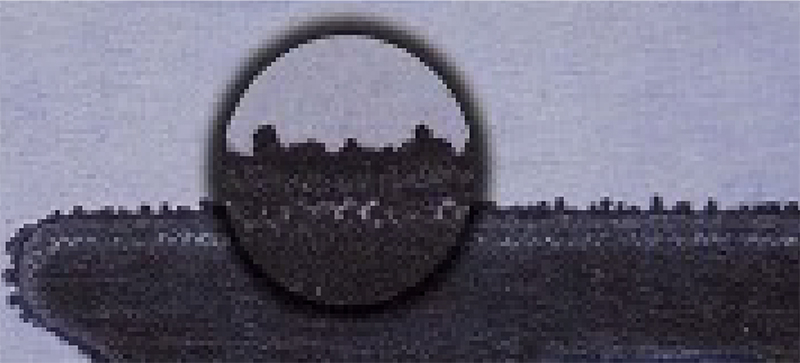
| POSSIBLE CAUSE | POSSIBLE SOLUTION |
|---|---|
| Ink viscosity is too low and isn’t wetting out properly | Increase viscosity or add fresh ink Use pigmented extenderAdd polar solvents |
| Print web has static | Print web has static Use static eliminatorAdd steam vaporUse tinselIncrease humidity |
| Electroassist is excessive | Reduce electroassist settings |
2. WEAK PRINT – Ink density is too low (inks look starved)
When ink density is too low the resulting print can look faded or be absent of color altogether. Using an effective diluent can improve ink flow without affecting adhesion of UV ink.
| POSSIBLE CAUSE | POSSIBLE SOLUTION |
|---|---|
| Ink viscosity is too high and isn’t transferring from anilox cell to plate properly | Add UV reducer to lower the viscosity |
3. INK SPITTING – Ink is misting into non-image areas
Ink spitting is a common issue associated with UV inks that does not tend to happen with water or solvent inks. When ink sprays in an uncontrolled manner, turn first to reducing ink viscosity.
| POSSIBLE CAUSE | POSSIBLE SOLUTION |
|---|---|
| Ink viscosity is too high and isn’t transferring from anilox cell to plate properly | Add UV reducer to lower the viscosity |
4. FOAMING – Ink is foaming in the pan
As press speeds increase, so does the potential for tiny air bubbles to form when the anilox roll comes into contact with the ink. While UV inks do contain some antifoaming agent, sometimes more must be added to prevent additional foaming or eliminate the bubbles already in the ink.

| POSSIBLE CAUSE | POSSIBLE SOLUTION |
|---|---|
| Ink viscosity is too high | Add UV reducer to lower the viscosity Add defoamer to the ink Lower the ink pan pump speed |
| Ink is contaminated | Add fresh ink |
| Excessive agitation in the ink fountain | Reduce ink pump flow rate |
5. POOR ADHESION – Ink is not adhering to the substrate properly
What it looks like: Ink film is not sticking to the substrate
UV ink adhesion issues can be divided into two separate categories. Pre- and post-cure. Start first by confirming that your ink is curing properly, and if it is, move on to the next step of adjusting the treatment of the substrate for better adhesion.
| Possible Cause | Solution |
|---|---|
| Ink is not fully curing | Check that all lamps are functioning correctly – Less than 1,000 hours/bulbAdd more photo initiator to inkAdd adhesion promoter |
| Dyne level of the substrate is not at optimum level to accept ink and/or coating (ideally 38-46) | Use a surface treatment to reach the optimum Dyne levelPrime the substrate with a suitable transparent white or primer |
| Ink and/or coating density is too high |
What it looks like: Ink film is damaged during scratch/rub/abrasion testing
Waxes are an advantageous formulation tool that give printers the ability to improve an ink or coating’s performance and make it more resistant to wear and tear. If additional wax does not provide sufficient protection against scratching, rubbing or abrasion, consider adding an extra coating or protective varnish.
| POSSIBLE CAUSE | POSSIBLE SOLUTION |
|---|---|
| Ink is not fully curing | Add wax to ink |
| Ink film is too soft for the end-use application | Add extra protection with a coating or varnish |
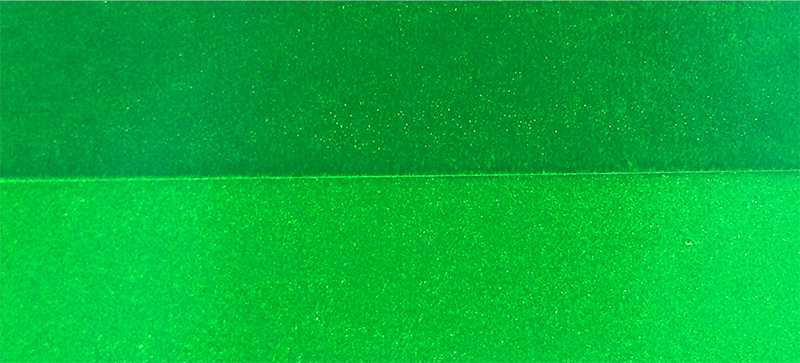
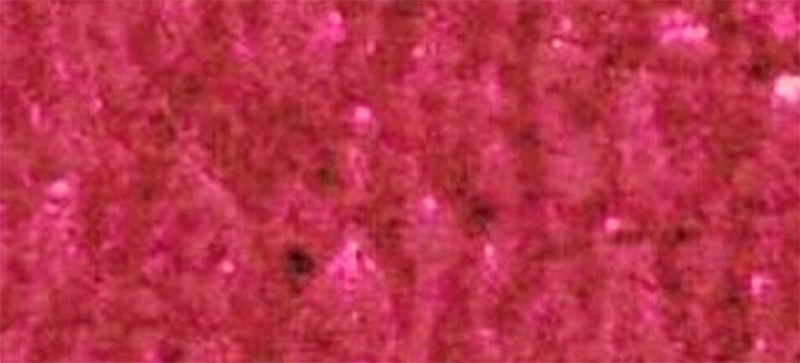
6. CLOUDY PRINT – Printed image appears cloudy or weak
When a more porous substrate is used that absorbs the ink film, a reformulation of the ink or sealing of the substrate is necessary.
| POSSIBLE CAUSE | POSSIBLE SOLUTION |
|---|---|
| Substrate is absorbing the ink film | Blend the mixing ink colors with opaque white instead of transparent white Seal the substrate with a suitable transparent white or primer |
7. FADING – Printed image fades quickly when exposed to high amounts of sunlight
Lightfastness is the resistance of colors to fading under the effect of a light source and determined by the pigments used in the formulation of your ink. In the case of printed products that will be exposed to higher degrees of sunlight, a high degree of lightfastness will be required.
| POSSIBLE CAUSE | POSSIBLE SOLUTION |
|---|---|
| Ink is formulated with pigment that does not match your lightfastness requirements | Reformulate the ink with a higher wool scale (WS) lightfastness rating |
8. BLEEDING – Printed image containing Rhodamine (“Fanal”) pigments are bleeding
Fanal pigments offer exceptional color qualities including high clarity, depth and cleanliness, but due to their poor resistance to solvents, they can also be prone to bleeding. In the event that bleeding becomes a recurring issue during your print run, it is likely that a more resistant pigment will need to be used.
| POSSIBLE CAUSE | POSSIBLE SOLUTION |
|---|---|
| Fanal pigments are coming into contact with solvent-based products or UV-laminating adhesives containing amines | Reformulate the ink with resistant pigments |
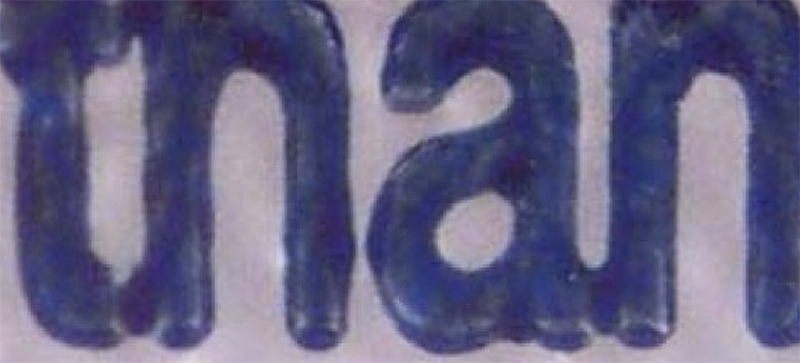
9. FLAKING – Printed image is damaged during die-cutting
When ink issues are only present during the die-cutting process, the problem is typically due to an overhardening of the ink or complications with the die-cutting machine itself, potentially dull blades.
| POSSIBLE CAUSE | POSSIBLE SOLUTION |
|---|---|
| Ink is over-hardening (flaking at cut point) – Typical with light colors | Change print sequenceReduce UV lamp output |
10. BANDING – Gearwheel stripes appear in the printed image
If adjusting pressure settings on the press do not eliminate the presence of gearwheel stripes, it is likely that the press requires professional maintenance and potentially to have one or more parts repaired or replaced. In some cases, excessive ink tack can lead to striping but this is less common.
Gear chatter is most often caused by a mechanical issue on the press. As gears wear down over time, they no longer fit together the way they used to, causing improper balance, pressure inconsistencies and even bouncing on the press. While it could be that gears simply need cleaning or lubricating, gear marks are typically a sign that teeth are damaged and in need of repair.
| POSSIBLE CAUSE | POSSIBLE SOLUTION |
|---|---|
| A mechanical problem is present in the press | Contact press manufacturer/maintenance technician |
| The pressure between rollers is not correct | Check the pressure settings between the ink rollers and the metering roller Check the pressure settings between the rollers to the printing plate |
| Ink tack is too high | Decrease ink tack in small increments Reformulate ink with adapted rheology |
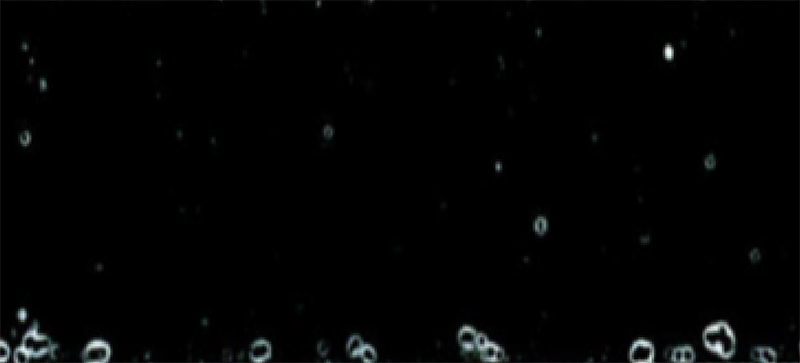
11. PINHOLING – Small fisheyes are present in the print area
Pinholing is one of the more maddening flexographic printing defects as the root cause can be either mechanical or chemical in nature. Along with the following possible causes, a dirty anilox or slow printing speed can also be to blame.
Cleaning the anilox or reducing the gap between the anilox cells on the roll will often solve the ink transfer failure that’s leaving tiny pinholes or causing incomplete printing. Other potential causes include fast-drying ink or high ink viscosity, wrong surface tension or a loss in cell volume on the anilox.
Additionally, check that the substrate surface isn’t responsible. A damaged, dirty or irregular substrate can also lead to pinholes and voids.
| POSSIBLE CAUSE | POSSIBLE SOLUTION |
|---|---|
| The printing plate is damaged/defective | Remake the plate |
| Ink is contaminated with debris | Clean up print station and replace with fresh ink |
| You are printing over inks that contain silicon | Use silicon-free inks |
| Foaming issues are present in the ink pan | See foaming section for troubleshooting options |
| Dyne level of the substrate is not at optimum level to accept ink and/or coating (ideally 38-46) | Use a surface treatment to reach the optimum Dyne level Prime the substrate with a suitable transparent white or primer |
12. HALOING – Images have an unwanted line along printed edges
| POSSIBLE CAUSE | POSSIBLE SOLUTION |
|---|---|
| Excessive pressure settings | Use “kiss” impression settings for plates and anilox rolls |
| Plate durometer is too hard | Use recommended plate per print requirements |
| Sticky-back tape is too thin or firm | Use compressible sticky-back |
13. MOTTLING – Speckled or splotchy image areas
| POSSIBLE CAUSE | POSSIBLE SOLUTION |
|---|---|
| Ink viscosity is too low | Increase viscosity or add fresh inkUse pigmented extenderAdd polar solvents |
| Ink is contaminated | Add fresh ink |
| Dust/debris collecting on plate surface | Wash plates thoroughly |
| Uneven or irregular substrate surface | Increase ink opacity Reduce durometer of plate material |
14. FILL-IN – Edges of print are connecting in non-image areas, especially in small type and screen halftones
| POSSIBLE CAUSE | POSSIBLE SOLUTION |
|---|---|
| Improper ink viscosity or pH range | Monitor and maintain proper ink settings |
| Type is too small for selected anilox roll | Use a higher line screen, lower volume anilox |
| Excessive pressure settings | Use “kiss” impression settings for plates and anilox rolls |
| Ink metering settings are incorrect | Increase pressure at fountain roll nip Increase pressure at doctor blade assembly |
| Ink pigment particles are too Large for application | Consult ink provider for improved grind and pigment dispersion |